How to clean Brother DCP and MFC print head nozzles


Parts
No parts required.
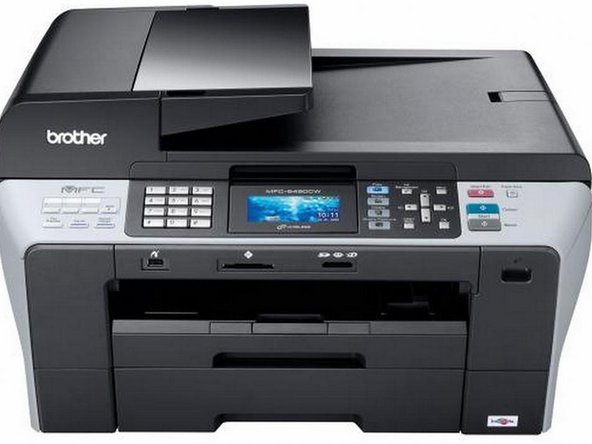
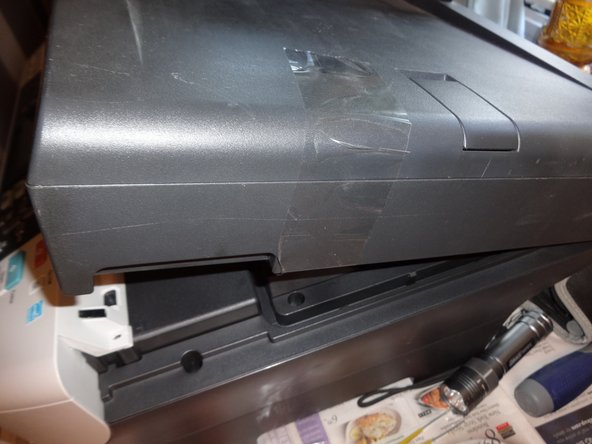
-
Tape the top part of the printer and scanner together
-
*note : I started with the paper trays already removed
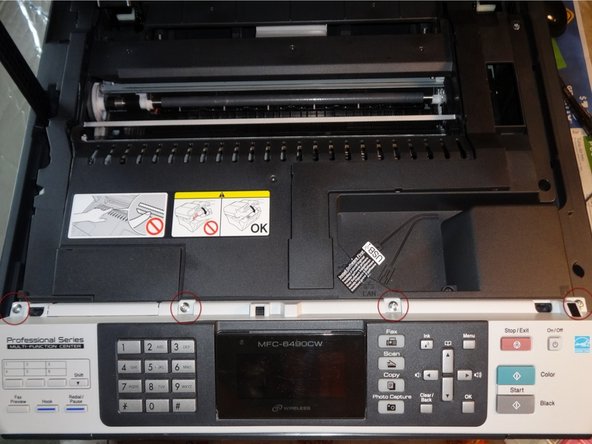

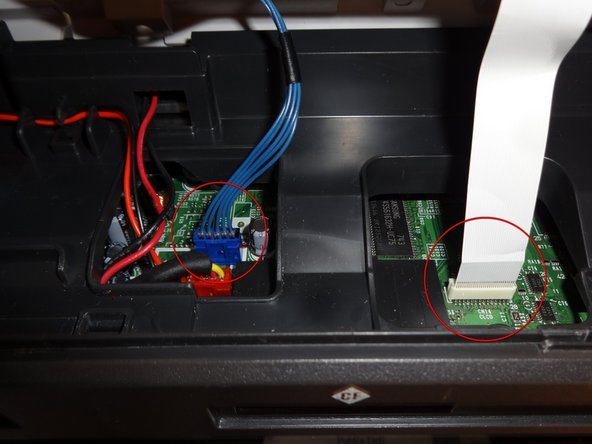
-
Remove the 4 screw holding the front display panel.
-
Lift the display panel
-
Remove the blue connector and the ribbon cable gently
-
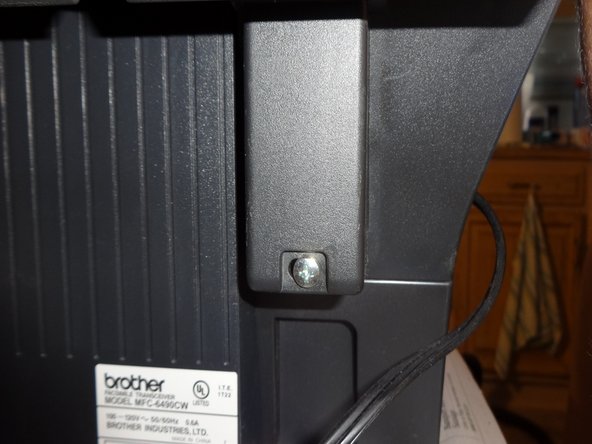
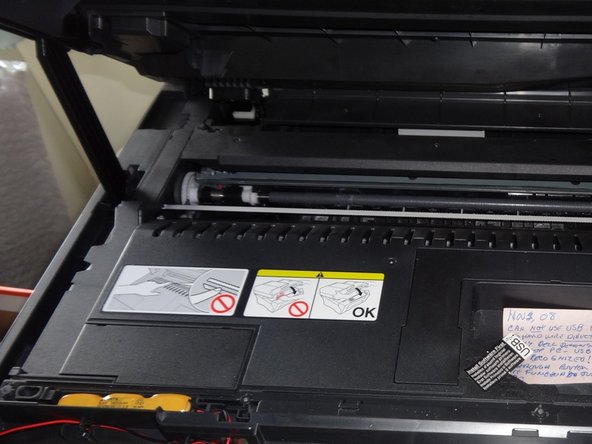
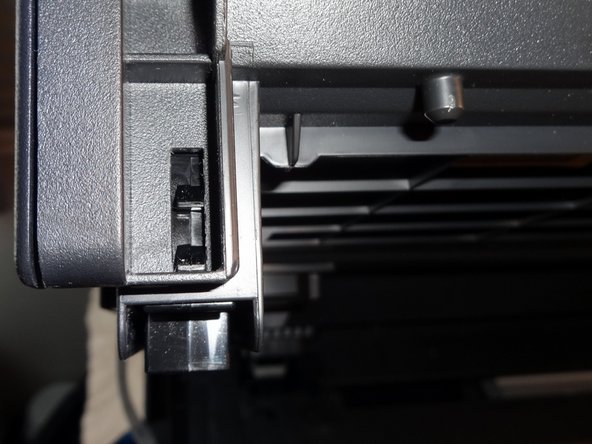
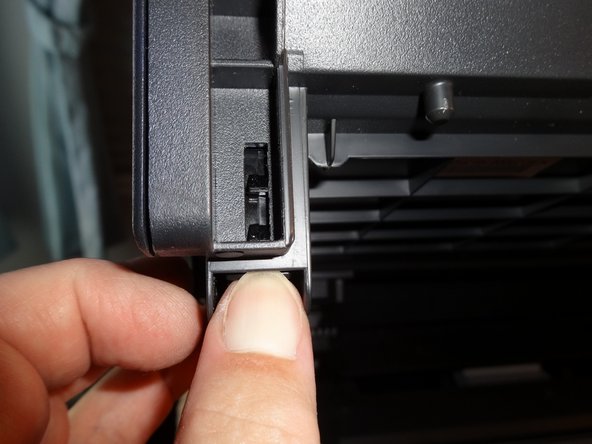
Remove the 2 hinge screws on the back of printer
-
Remove the support arm
-
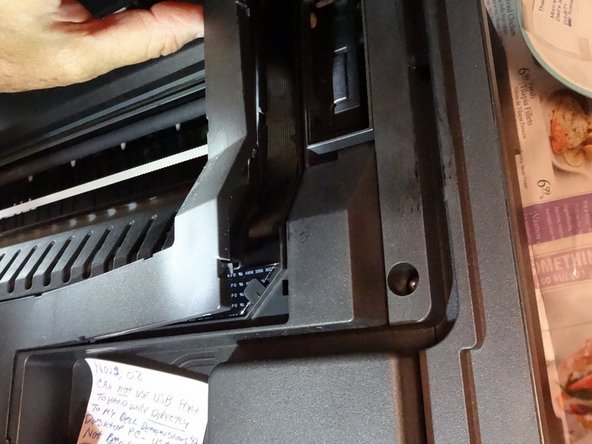
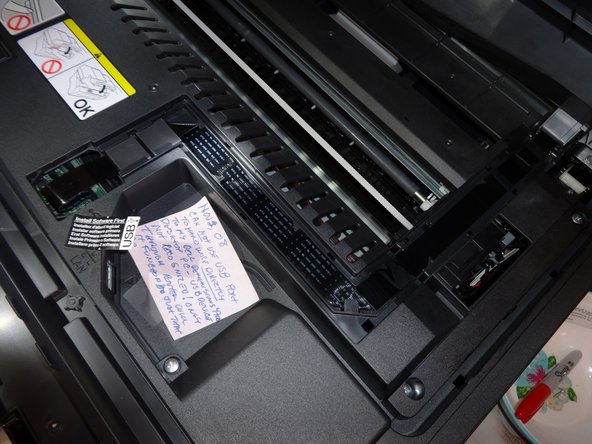
Press the tab to release the clips, then when it's out gently pull towards you to release the back
-
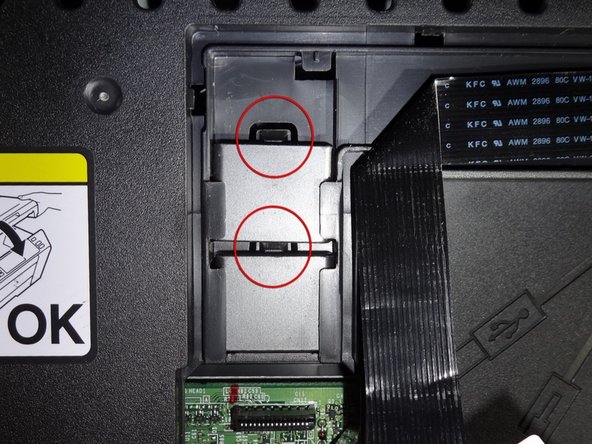
Remove the cover on the right side exposing the ribbon cable gently use the spudger in the tabs to release it
-
Unplug the ribbon cable and slid it out
-
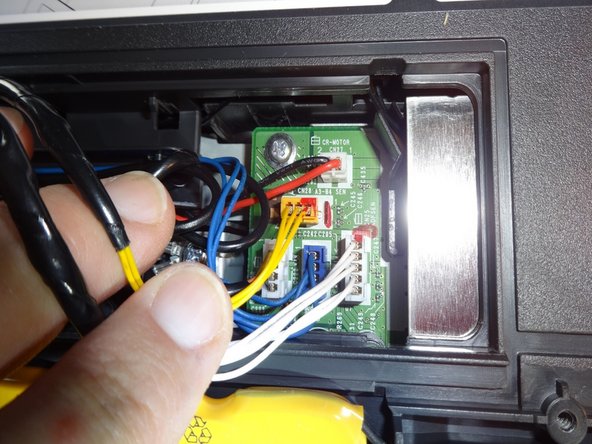
*note for reassembly: the ribbon cable placement holders can be removed to make it easier to re-thread the ribbon cable by gently pushing down the tabs with the spudger
-
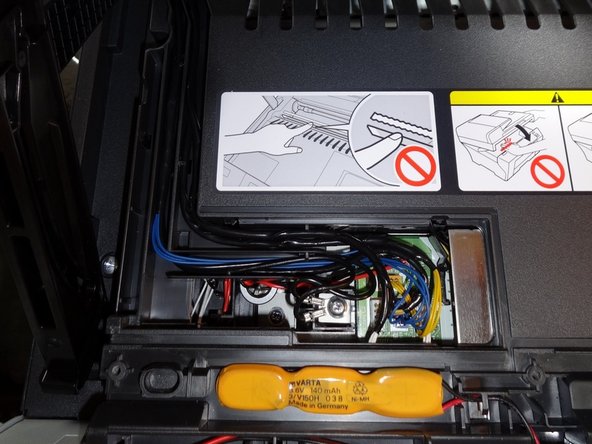
Remove the Panel on the left side exposing the wiring connectors for the top of the printer
-
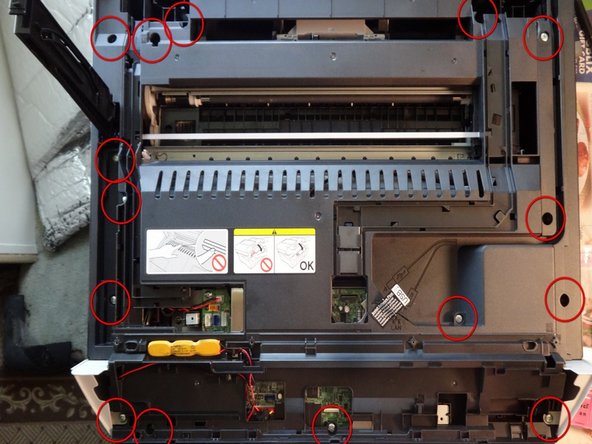
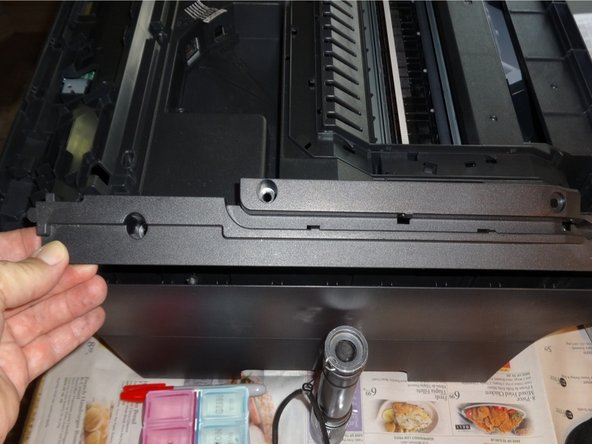
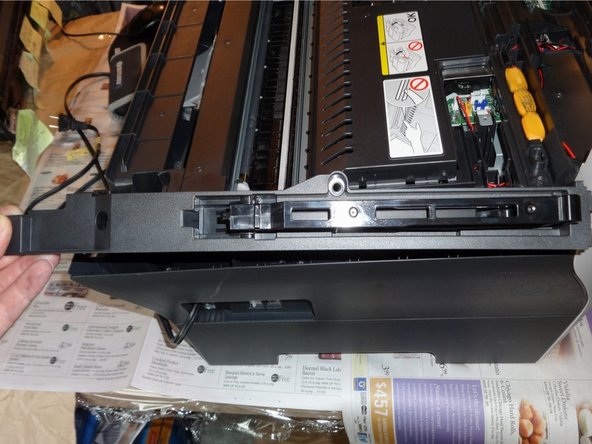
After dissconecting the connectors remove the hole top of the printer and place it safely out of the way
-
Remove the 15 screws to the cover
-
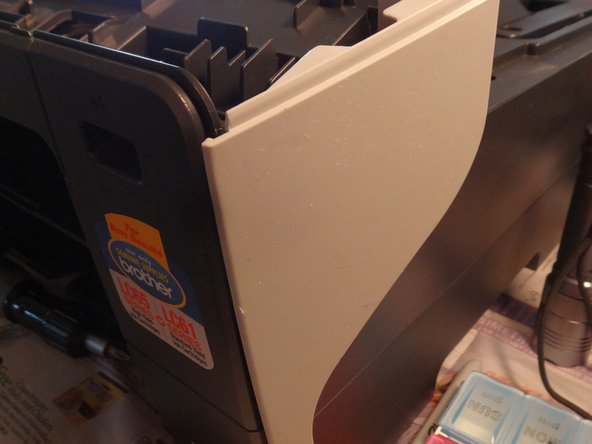
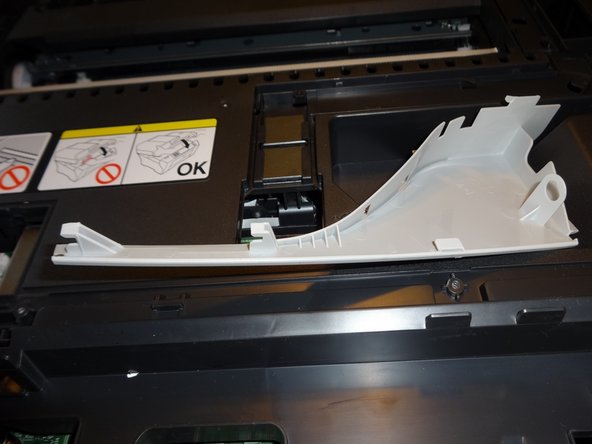
Remove the left and right side covers
-
Remove the front corners by gently pulling upwards
-
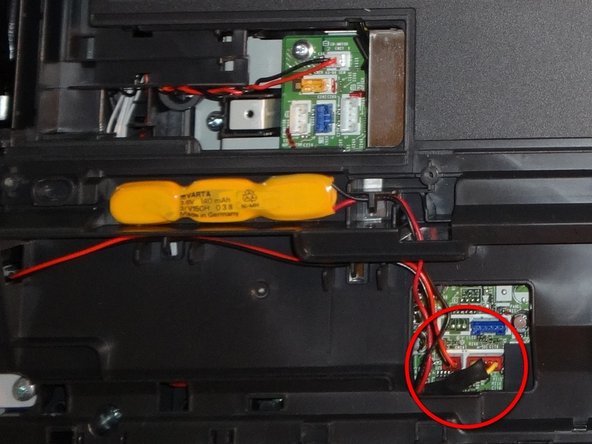
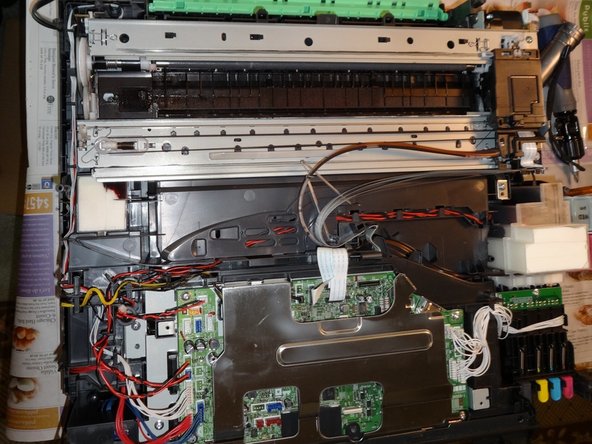
Open the back paper jam cover.
-
Lift off the cover and put aside out of the way

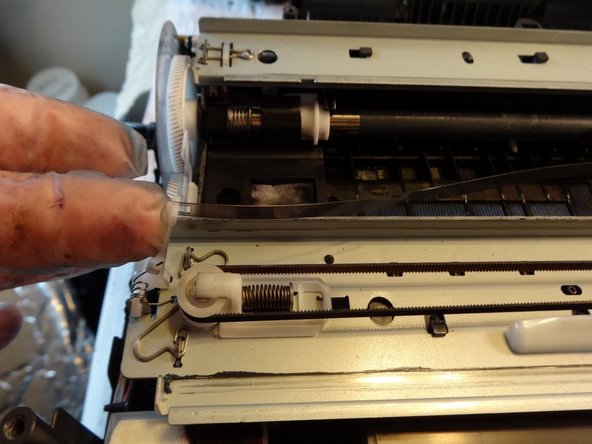
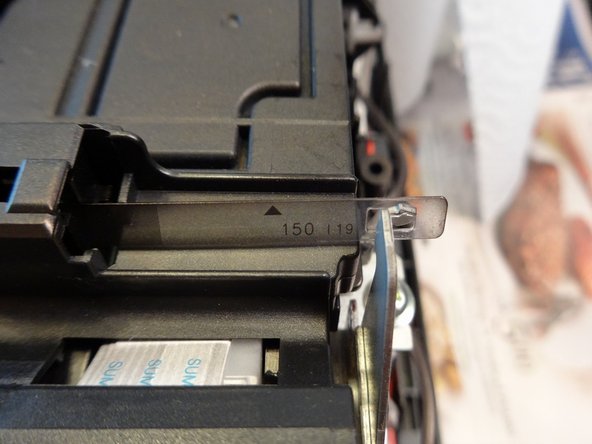
-
Slide the clear print head guide wire off the tab on the right side
-
*note: put on gloves if you have not it can get messy
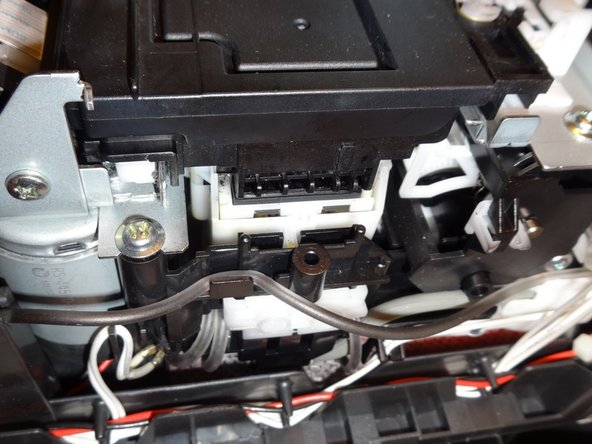
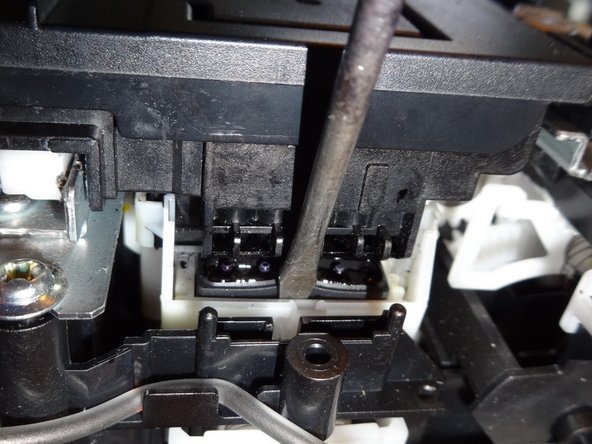

-
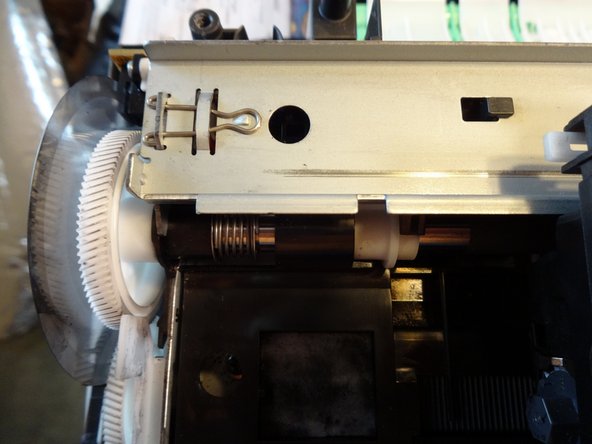
Using a spudger, press down on the plastic housing of the park carriage that the print head rests on.
-
Slide the print head to the left freeing it to move
-
Slide the print head left until it is at the end of the rail. You can feel it release (lift upwards when it aligns with the cut out notch)
-
Push the print head unit towards the back of the device and lift the unit from the back rail
-
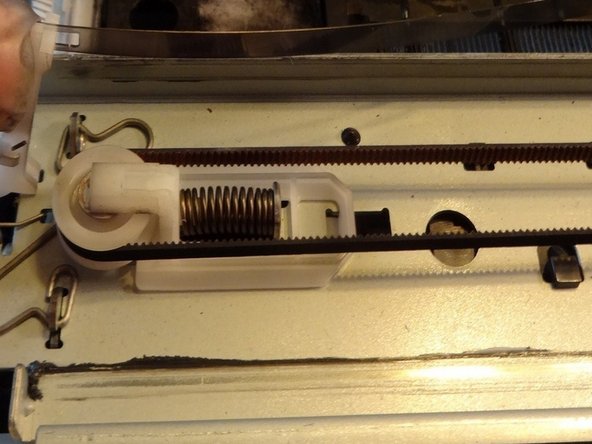
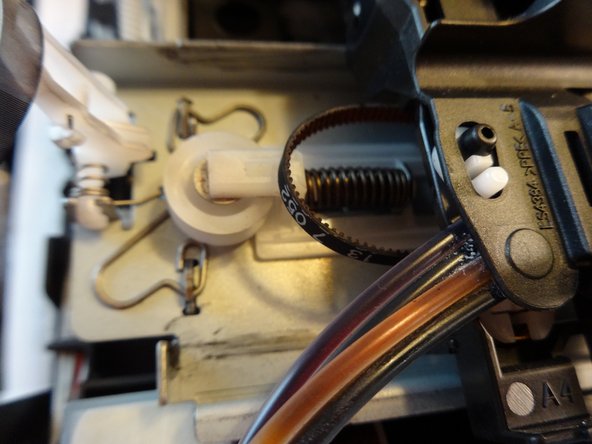
Using the spudger, press the spring section of the white pulley
-
Release the conveyor from the pulley while the spring is still compressed
-
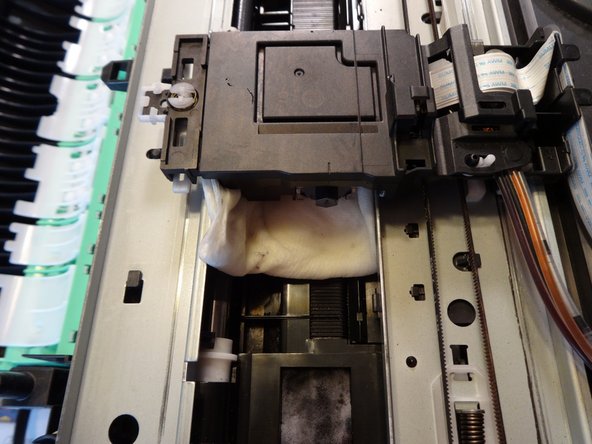
Remove the conveyor from the gear on the other side of the device

-
How to clean with paper towel
-
Tear a single sheet of paper towel in half. Fold the sheet in half several times until it is about 1/2 inch
-
Put the print head on top of the paper towel and put a few drops of distilled water for at least 15 minutes. This will soften the ink on the printhead.
-
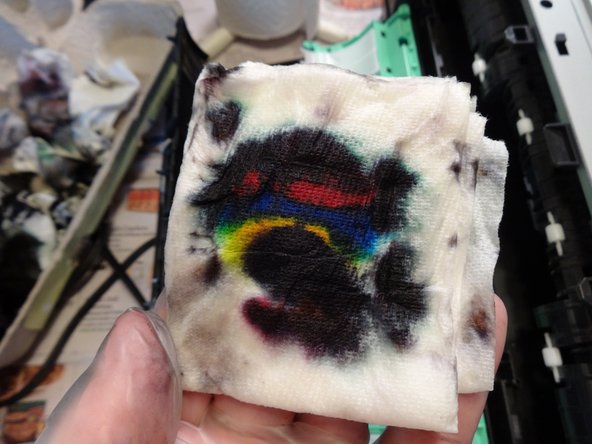
Move print head assembly back to its resting position. You will probably notice that the paper towel now has one big black blob of ink on it. (There is so much excess ink on the print head that all the colors are mixing to make black.)
-
If you cannot clearly see individual colors, then dampen another spot on the paper towel and move the print head back over the newly dampened spot on the paper towel. Continue repeating this until you see all the individual colors.
-
*note: when reassembling be certain to move the print head back to its resting position (the extreme right side above the park carriage)